It's been a busy week for me with not a lot of time to indulge in quilting unfortunately. So today I thought I would post some pictures of my embroidery work.
I saw a great blog on Stash Manicure by Mary Corbet, who is an embroiderer.
It made me want to go and get my threads out.
Here are some of my past efforts.
These fish were embroidered by hand using stranded cottons and were originally intended to be part of a large wall hanging. I took a mad turn one day and cut them up. Now I am thinking of incorporating them into a quilted wall hanging.
I love this cheeky little head on fish.
Clown fish
I'm thinking of using some gorgeous batiks to tie all these fish together - yet another project that is still in my head. One day.....
Next up are some embroidered shorts - they were worked a few years ago, hence the high waist (urghhh!).
The design is loosely based on crewel work.
I hope you have enjoyed my embroidery. After food shopping today I hope to get back in my sewing room and have something quilty to show you the next time.
Until then happy sewing everyone.
Rhianon.
Saturday, 9 April 2011
Sunday, 3 April 2011
Quilts for Japan.
Hello friends.
The past 2 weeks have gone by so quickly. You know time flies when you're having fun. I've been making 2 quilts to go to Japan for the poor souls who have lost everything. I know there are quilters all over the world who are donating to this worthy cause.
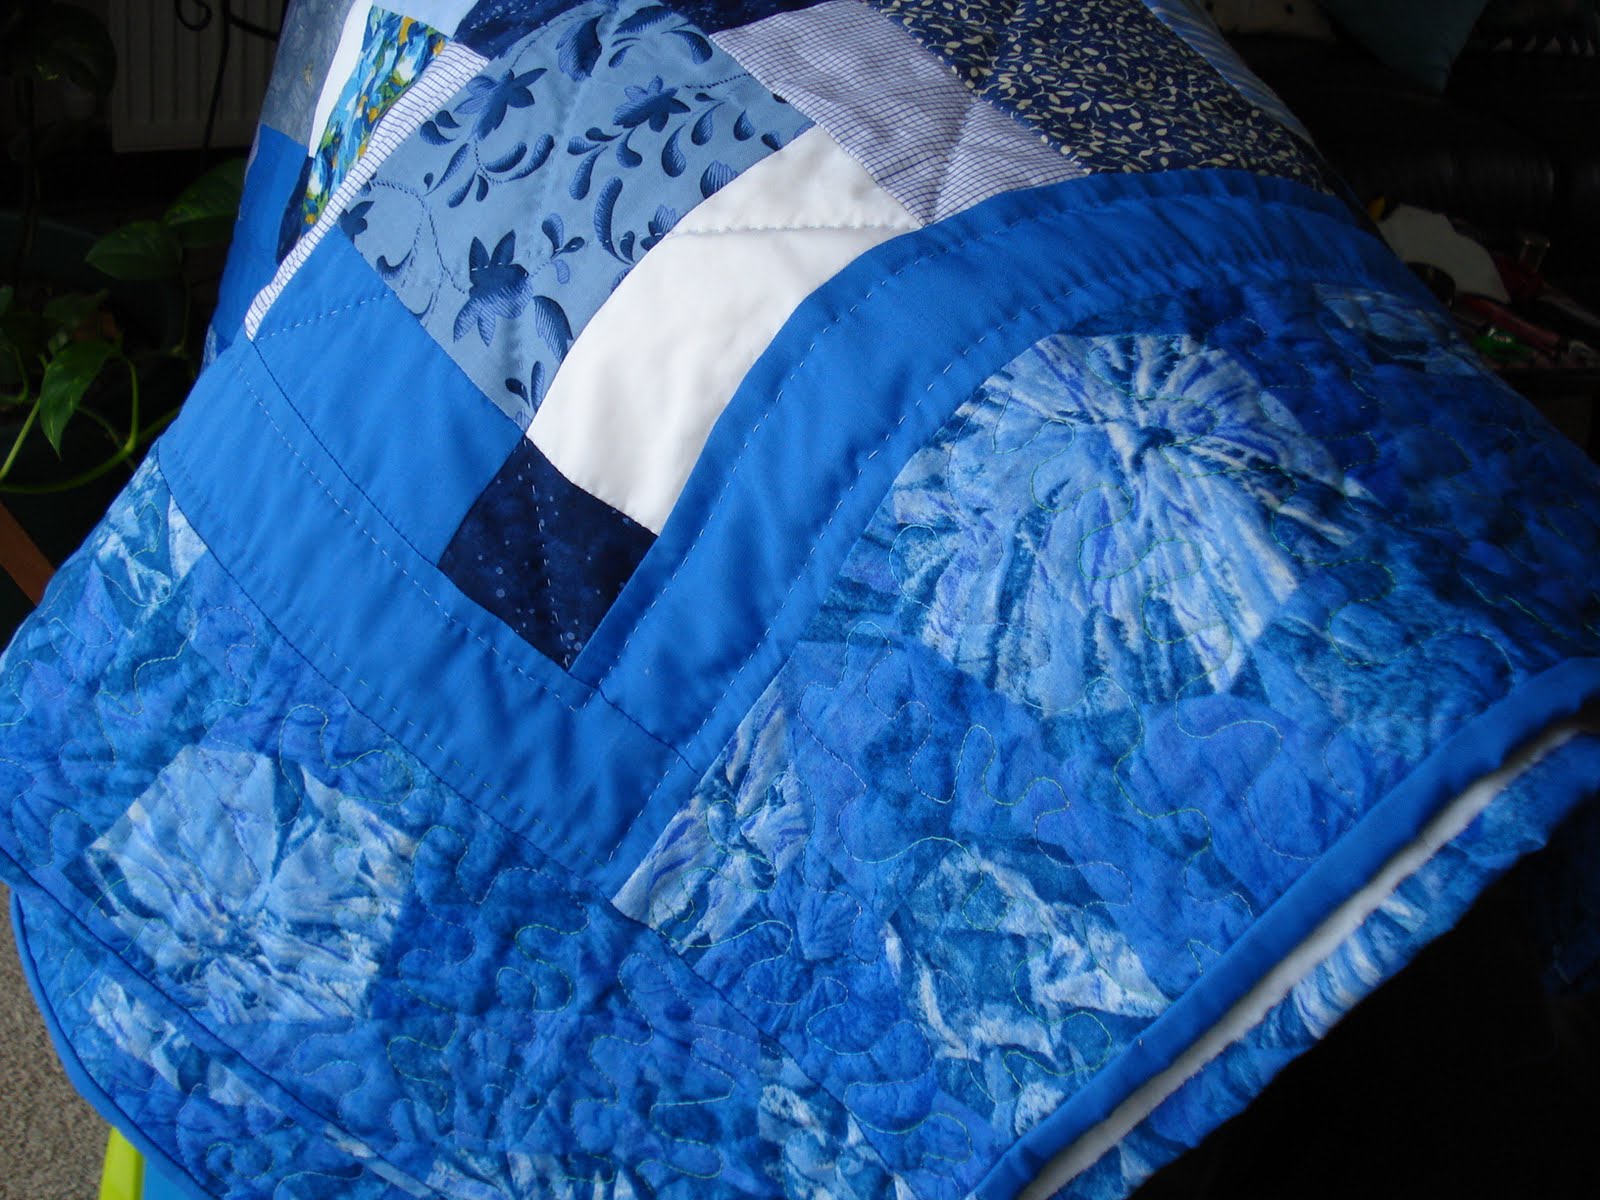
My first quilt is a baby quilt.
Because these quilts are needed in a hurry - I HAD to attempt some free motion quilting. I didn't even have a proper foot for my machine, so I did this one without a foot.
I was pretty pleased with the result. It looks half respectable.
Onto the next quilt - a pretty little girls quilt.
At this point, my machine started to act up. DH took it apart and serviced it for me. Just look at what was underneath the throat plate!
Urrrgghhh!!!! No wonder my machine wasn't running properly! When was the last time you looked under your throat plate????!!!!!
After a jolly good vacuum and a few drops of oil, all is well with my machine and I purchased one of these - a darning foot!! I was so excited when this arrived because then I could really start practicing this free motion quitling!
Here is the second quilt for Japan. this tine I attempted a loopy heart pattern. It was so much fun to do.
Towards the end of the week I got my Dad-in-laws lap quilt finished. It has a mixture of hand and machine quilting. I hope he likes it!
Finally, my quilt group have decided to do 2 group quilts to send to Japan.
We each had to make 4 disappearing 9 patch blocks.( that old favourite)
Here are mine ...
Now I am left to ponder over my next project.....
Until the next time
happy sewing everyone.
Rhianon.x
The past 2 weeks have gone by so quickly. You know time flies when you're having fun. I've been making 2 quilts to go to Japan for the poor souls who have lost everything. I know there are quilters all over the world who are donating to this worthy cause.
My first quilt is a baby quilt.
Because these quilts are needed in a hurry - I HAD to attempt some free motion quilting. I didn't even have a proper foot for my machine, so I did this one without a foot.
I was pretty pleased with the result. It looks half respectable.
Onto the next quilt - a pretty little girls quilt.
At this point, my machine started to act up. DH took it apart and serviced it for me. Just look at what was underneath the throat plate!
Urrrgghhh!!!! No wonder my machine wasn't running properly! When was the last time you looked under your throat plate????!!!!!
After a jolly good vacuum and a few drops of oil, all is well with my machine and I purchased one of these - a darning foot!! I was so excited when this arrived because then I could really start practicing this free motion quitling!
Here is the second quilt for Japan. this tine I attempted a loopy heart pattern. It was so much fun to do.
Towards the end of the week I got my Dad-in-laws lap quilt finished. It has a mixture of hand and machine quilting. I hope he likes it!
Finally, my quilt group have decided to do 2 group quilts to send to Japan.
We each had to make 4 disappearing 9 patch blocks.( that old favourite)
Here are mine ...
Now I am left to ponder over my next project.....
Until the next time
happy sewing everyone.
Rhianon.x
Monday, 14 March 2011
More Cushions !
Hello there. Following on from my last post, I thought I would continue with the theme of cushions.
This one was made for my neighbour, Mary whose husband had sadly passed away. It was made from his pyjamas and shirts.
The little one was for Mary's grown up daughter.
Tears were shed from both ladies when they saw their cushions - what a lovely keepsake for them.
This next one was made for my brother Allan and his wife Sylvia for their 20th wedding anniversary.
Sylvia shed a little tear too - she loved her cushion.
This next one was made to go with a quilt I made my daughter.
Much to my wee girl's disgust - this remains a UFO, which is ridiculous because the quilt has been finished for a couple of years. One day I'll get round to it....
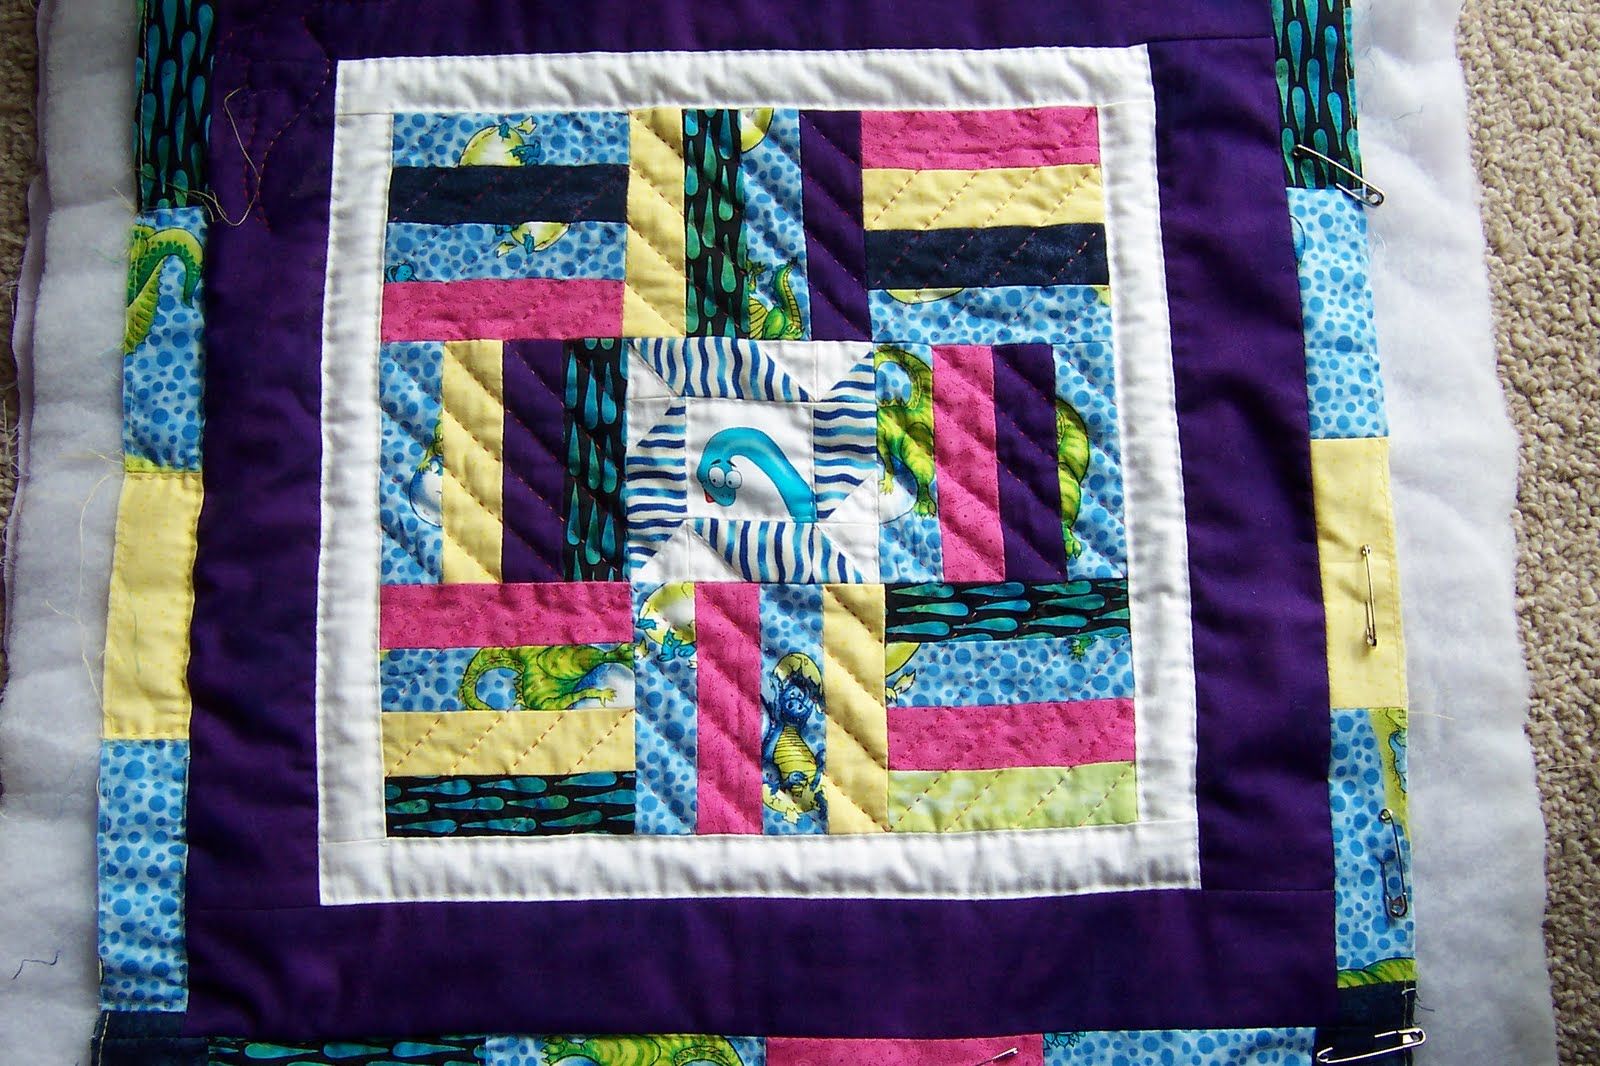
This is the quilt to match the dinosaur cushion and a close up.
I made two of these cushions - one finished, one a UFO
The green tartan is my Dad in law's shirt - I loved the colour.
They were a good exercise to practice my snail's trail block.
Today I was lucky to get a few hours at my machine, so I'll show you what i was up to the next time. Til then...
Rhianon.
This one was made for my neighbour, Mary whose husband had sadly passed away. It was made from his pyjamas and shirts.
The little one was for Mary's grown up daughter.
Tears were shed from both ladies when they saw their cushions - what a lovely keepsake for them.
This next one was made for my brother Allan and his wife Sylvia for their 20th wedding anniversary.
Sylvia shed a little tear too - she loved her cushion.
This next one was made to go with a quilt I made my daughter.
Much to my wee girl's disgust - this remains a UFO, which is ridiculous because the quilt has been finished for a couple of years. One day I'll get round to it....
This is the quilt to match the dinosaur cushion and a close up.
I made two of these cushions - one finished, one a UFO
The green tartan is my Dad in law's shirt - I loved the colour.
They were a good exercise to practice my snail's trail block.
Today I was lucky to get a few hours at my machine, so I'll show you what i was up to the next time. Til then...
Rhianon.
Tuesday, 8 March 2011
Dresden Plate Cushion Tutorial
Today I am going to show you how I made this Dresden plate cushion. It is a birthday present for a friend of a friend and I hope she is going to love it.
Choose some pretty fabrics, I used a selection of 5 fat quarters and still had lots left over.
Using a Dresden Plate Ruler - cut out 20 segments and chain piece them together.
After doing that I poked out the points using my fabulous wooden iron.
I love my wooden iron. It was made by my quilter friend Irene's husband. It's beautifully crafted and made from purple heart wood. That's the real colour - it's not been stained.
Back to the cushion - join the segments together in groups of five, then join them to make the plate. Applique onto a 12 and a half " square
I then added a one and a half inch inner border followed by an outer border made up of 7 x 21/2 " squares. This completes the cushion top.
Quilt as desired and add any embellishments or embroidery. I hand quilted mine and added the name of the person who it is for.
Next step is to add the lace and frilled edging. I cheated and bought ready gathered lace. The frill is made exactly the same way as binding for a quilt. I made mine 3 inches wide ( before being folded.)
Start by making a small fold in the lace and stitch all the way around, making a little pleat just before and after each corner.
Next add the frill. Start by turning under 1 cm twice and sew from there.
To get the ruffle effect, make a fold about every inch or so.
This is a good angle to see but please excuse my mangled nail. ( I cut my finger with rotary cutter at Christmas and had actually cut my nail. It is just growing out now) Sorry I know its gross!
When doing the corners, as with the lace just do a couple of pleats close together and close to the corner as you can. Sew right up to quarter inch away, leave needle in, lift foot and swivel round. Pull out the corner away from the needle, make a pleat as close as you can and carry on until completed.
It should look something like this now. See the split - just sew this together from the back. Now for the backing. Hem 2 pieces of fabric - one longer then the other and the width of the cushion.
Before I attach the backing I put a pin in each corner to keep the frill and lace out of the way.
With right sides together, pin the longer side down first with the hemmed side to the bottom of the cushion. Sew slowly. There are quite a few layers here but I just have a basic machine and it coped well. Attach the other half in the same way
Not forgetting to take your pins out of the corners - turn right side out and your cushion is ready for stuffing.
I hope you enjoyed my post - next I will be working on my batik wall hanging and my magic lantern quilt.
Happy sewing until the next time.
Rhianon.
Choose some pretty fabrics, I used a selection of 5 fat quarters and still had lots left over.
Using a Dresden Plate Ruler - cut out 20 segments and chain piece them together.
After doing that I poked out the points using my fabulous wooden iron.
I love my wooden iron. It was made by my quilter friend Irene's husband. It's beautifully crafted and made from purple heart wood. That's the real colour - it's not been stained.
Back to the cushion - join the segments together in groups of five, then join them to make the plate. Applique onto a 12 and a half " square
I then added a one and a half inch inner border followed by an outer border made up of 7 x 21/2 " squares. This completes the cushion top.
Quilt as desired and add any embellishments or embroidery. I hand quilted mine and added the name of the person who it is for.
Next step is to add the lace and frilled edging. I cheated and bought ready gathered lace. The frill is made exactly the same way as binding for a quilt. I made mine 3 inches wide ( before being folded.)
Start by making a small fold in the lace and stitch all the way around, making a little pleat just before and after each corner.
Next add the frill. Start by turning under 1 cm twice and sew from there.
To get the ruffle effect, make a fold about every inch or so.
This is a good angle to see but please excuse my mangled nail. ( I cut my finger with rotary cutter at Christmas and had actually cut my nail. It is just growing out now) Sorry I know its gross!
When doing the corners, as with the lace just do a couple of pleats close together and close to the corner as you can. Sew right up to quarter inch away, leave needle in, lift foot and swivel round. Pull out the corner away from the needle, make a pleat as close as you can and carry on until completed.
It should look something like this now. See the split - just sew this together from the back. Now for the backing. Hem 2 pieces of fabric - one longer then the other and the width of the cushion.
Before I attach the backing I put a pin in each corner to keep the frill and lace out of the way.
With right sides together, pin the longer side down first with the hemmed side to the bottom of the cushion. Sew slowly. There are quite a few layers here but I just have a basic machine and it coped well. Attach the other half in the same way
Not forgetting to take your pins out of the corners - turn right side out and your cushion is ready for stuffing.
I hope you enjoyed my post - next I will be working on my batik wall hanging and my magic lantern quilt.
Happy sewing until the next time.
Rhianon.
Subscribe to:
Posts (Atom)