Sunday 26 May 2013

Carpenter Star Table Toppers


Hello everyone.

I hope you've had a good week.  I've been busy making table toppers.


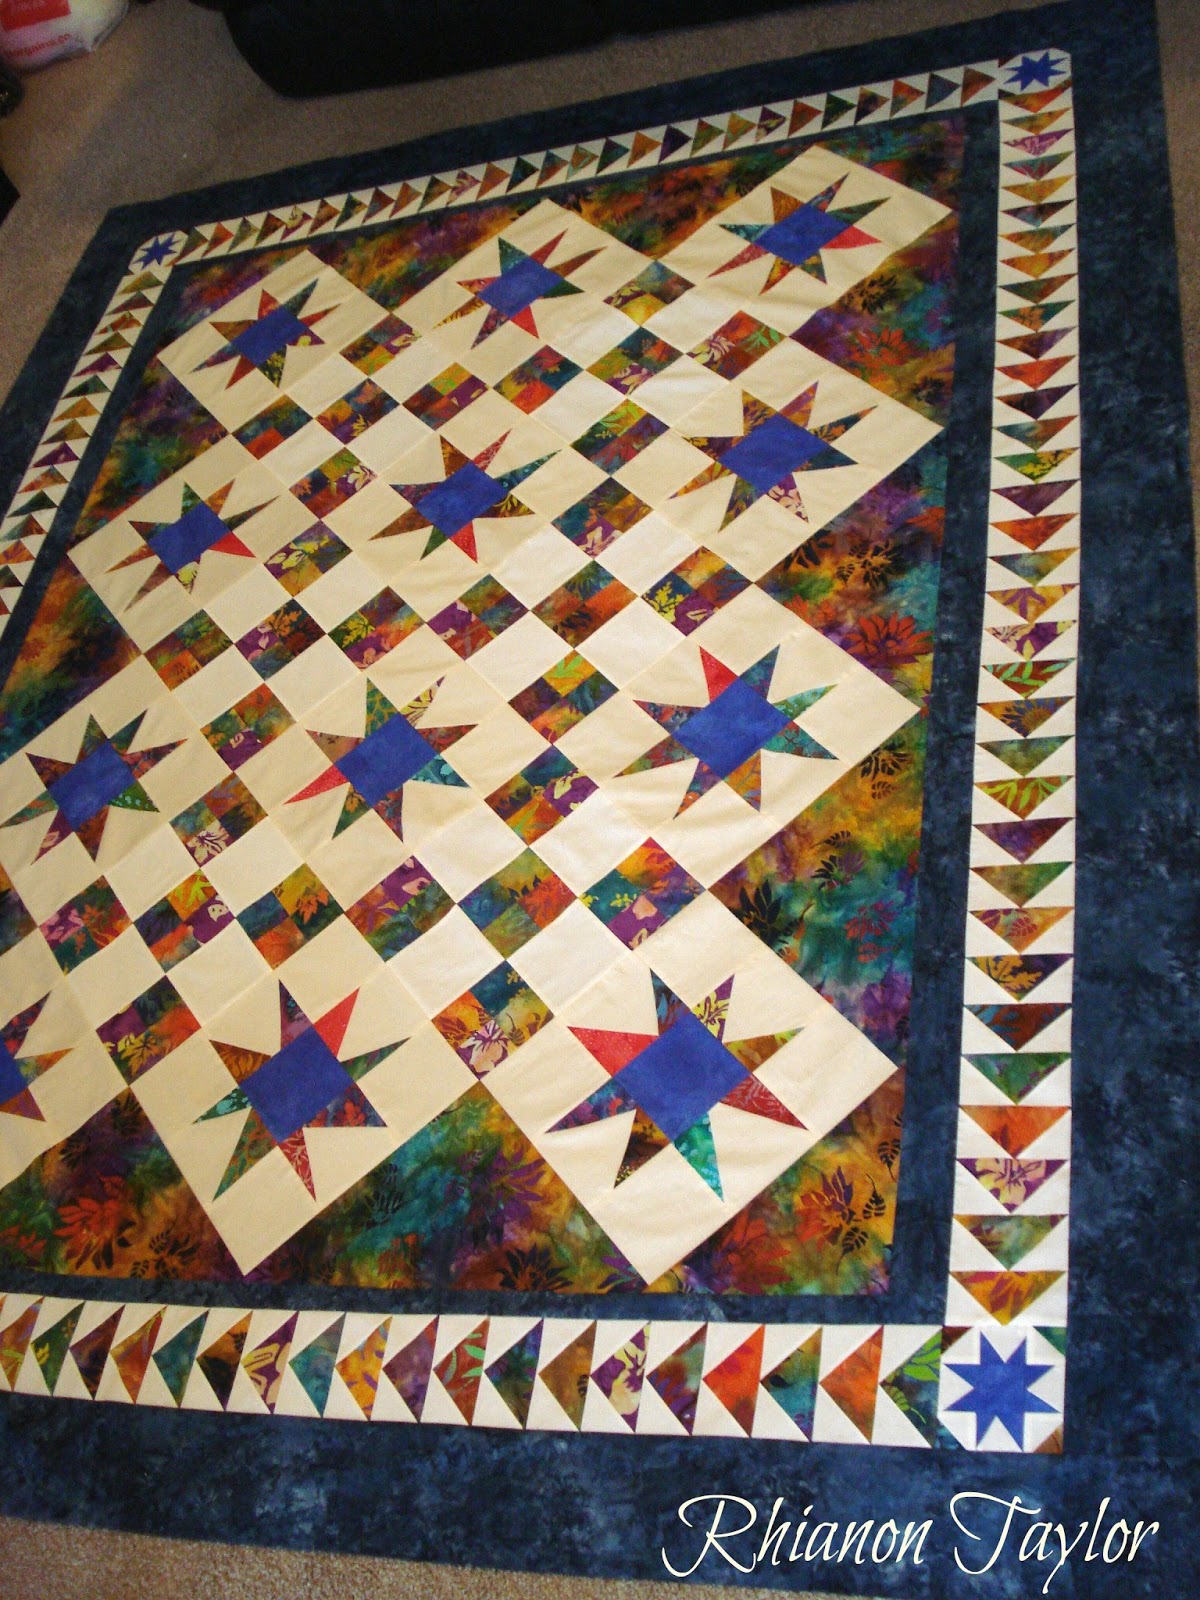
My father-in-law needed one for his kitchen table and i thought the carpenters star filled the circular space just nicely.  Also, Jack was a pattern maker before he retired so this was very apt!

I used plain fabrics so the quilting would show up...


.....and I used a thin 2oz polyester wadding. Feathers in the center and stippling around the edge.


This is the second topper, this time with a cream background.


 I quilted all over feathers for the background.


Both toppers measure 28" across.
If you would like to make a carpenter star then you can find a great pattern here.
I halved the size of the HSTs then squared them to 3" to make my topper.

Before I go, can I just let you know that voting is open at the Quilt Blogger's Festival.


You can vote for my butterfly quilt here.  It is in the baby category and is #3.


You can vote for my Fishy wall hanging here. It is in the Wall hanging category and is #5.

You can vote for one quilt in each category and I would love it if you voted for mine.  There are some really fabulous entries this year and I've had difficulty choosing my favourites in several categories.  So many beautiful quilts!!

See you all next time.
Rhianon. :)

Friday 17 May 2013

Blogger's Quilt Festival - Spring 2013


It's springtime and that can only mean one thing.  It's time for the Blogger's Spring Quilt Festival.
It is organised by Amy from Amy's Creative Side and  I must pause here to thank Amy for all her hard work in organising the festival.


This year we are allowed to enter two quilts.
This is my first entry - my snow dyed butterfly quilt.


 I snow dyed all but the peachy fabric for this quilt myself.  It measures 42" x 47" and is my own design.


I free motion quilted this on my domestic - I have a Janome 1600.  This is the center section.


I machine appliqued the butterflies then worked a bit of trapunto to make them stand out. I quilted freehand feathers and pebbles behind them.

I then added two more layers to the butterflies....


and added a fuzzy center for the bodies.  I crocheted them with some funky fur yarn and sewed them down very securely.


I am entering this quilt into the Favourite Baby Quilt catergory,
Thanks for stopping by my blog and I'd be thrilled if you voted for my quilt.
Rhianon.
http://www.inlinkz.com/?refId=3267

Blogger's Quilt Festival Spring 2013


It's time for the Blogger's Spring Festival, which is very kindly put together twice a year by Amy from Amy's Creative Side.

Two entries are allowed this time and this is my second entry.
My fishy wall hanging.


It is my own design and measures 47" x 43"

I made a pile of string blocks using batiks and broke them up with some fishy and seahorse blocks.

The seahorses were appliqued and then I added transfer foils with bondaweb to give them a shimmery effect.


The fish and the seahorses were trapunto -ed to make then stand out and I pebbled the background.


I free motion quilted it on my domestic machine.


Quilted feathers in the border - I used some metallic threads to give it a bit of sparkle.


This quilt will be entered into the Favourite Wall Hanging  category.
I have it hanging in my living room and adds a nice splash of colour to the room.
Thank you for taking the time to look at my blog and if you voted for me then thank you - that's fantastic.
Rhianon.
link 

Tuesday 14 May 2013

ipod pouch

Hello
I made this pouch for an ipod last week.


It's very small - 5" x 3" and it was pretty tricky sewing round the top edge.


                                 Free motion quilted flowers and feathers in metallic threads.


                                                                        The back.


                                          Finished off with a sparkly sequin and bead!

Saturday 11 May 2013

Stars and Butterflies Quilt - Part 2


Hi there,
Hope you are all having a good week.
 I've been making good progress with this quilt and thought it was time to post about it again.


Last time I posted it looked like this.  I was in the process of doing the appliqued flowers and leaves.


I used bondaweb for the applique and satin stitched  around the edges.


When that was done, I made lots of half square triangle units and used them for the next border.  A plain border finished the top.


This is laid out on my deck, basted and ready to quilt.

Even cracked open a new pair of gloves.....


Free hand feathers around the central butterfly with tiny stippling in the background.

Oops where's my seam ripper???

feather filler

In the machine...


Center section almost done.  I still have to go back and do a little more work on the stars.
This is it on my bed.  It's a big quilt!
Next time I post, it will be finished.  Not sure when.  It has taken 14 hours of quilting so far.  I'm keeping a tally just out of interest.
Have a good weekend everyone.
Rhianon.

Monday 6 May 2013

Sapphire Stars Quilt- part 1


I started this quilt because I wanted to use up my batik scraps and I love this star block.  It's easy sewing and doesn't require much brain power!


This is the Wonky star block.  Mine measure 12.5".


I made 12 blocks - I dyed the center blue fabric myself, in the microwave.


I set them on point  and made some simple 9 patch blocks to go with them.


 Apologies for the 4 poor quality photos above but it shows you how I worked the layout.


 After adding corner and side triangles - it needed some borders.


I liked the idea of flying geese units, so why not? They are great for using up scraps.
I decided i wanted to make little wonky star cornerstone blocks, plus this used up the huge amount of half square triangles from the flying geese.

What a bonus - I just stitched an extra seam when making the geese units and I have lots of these. They square up to 2" and are so cute. I used them in the corners of the little block below.


This little block finishes at 5", so i had to trim !/4" to make it fit my quilt.


                                     Here is the finished top, all ready to be quilted.

                                             
                                                               Close up of the corner.


It ended up being a little bigger than I intended  - its taking up nearly all of my living room floor space.

Couldn't resist playing around with the bonus HSTs.

I think these will make a cute baby quilt......

If you'd like to make a wonky star block, I have done a tutorial. Click here.
Hope you enjoy it.
Next time I hope to have some quilting to show you. See you then.
Rhianon.


Related Posts Plugin for WordPress, Blogger...